Welding helmets are an important piece of safety equipment for any welder, and assembling one correctly can be the difference between a successful welding job and an injury. Assembling a welding helmet is not as difficult as one might think, but it requires precision and attention to detail. With the right tools and a few simple steps, anyone can assemble a welding helmet and be ready to start welding safely. So, let’s get started on assembling a welding helmet for your next welding job!
What Type of Welding Helmet Should I Buy?
Welding helmets are essential safety equipment for welders. When selecting a helmet, there are a few things to consider. Here are some tips for choosing the right welding helmet:
- Choose a helmet with a high-quality auto-darkening filter. This will ensure that your eyes are always protected from the arc light. Make sure the filter has a minimum rating of 1/1/1/1.
- Check the headgear for comfort and adjustability. A good helmet should be comfortable to wear for long periods of time.
- Look for helmets with a large viewing window. This will provide a better view of the welding arc.
- Choose a helmet with a fast switching speed. This will ensure that the lens darkens quickly when the arc is struck.
- Consider the weight of the helmet. A lighter helmet will be more comfortable to wear.
- Choose a helmet with a high shade number. This will provide the best protection from the arc light.
Once you have chosen the right helmet, you will need to assemble it. Put on the headgear and adjust it for a snug fit. Then attach the auto-darkening filter to the front of the helmet. Finally, attach the helmet to the headgear. Now your welding helmet is ready to use!
How Do I Prepare the Helmet for Assembly?
Before beginning the assembly of a welding helmet, it is important to take the necessary safety precautions. To prepare the helmet for assembly, here are some steps to follow:
- Gather necessary supplies, such as gloves, a face shield, and safety glasses.
- Inspect the helmet for any cracks or defects.
- Clean the interior of the helmet using a soft cloth and a cleaning solution.
- Line the interior of the helmet with a protective layer of padding or foam.
- Attach the straps to the helmet and adjust them for a snug fit.
- Cover the helmet with a protective film to prevent scratches.
Once all of these steps have been completed, the welding helmet is ready for assembly.
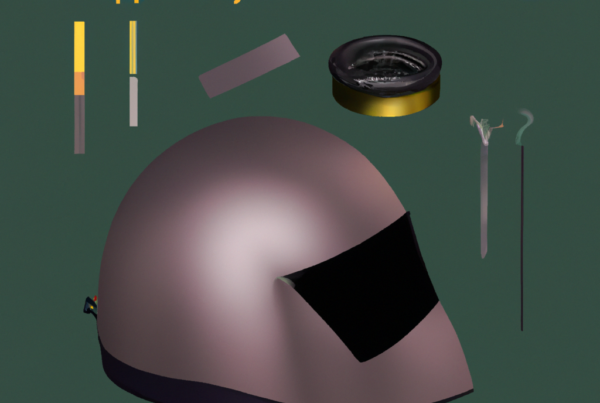
What Tools and Supplies Do I Need for Assembly?
Assembling a welding helmet is a relatively straightforward process that requires just a few tools and supplies. Before you start assembling, make sure you have the following on hand:
- Welding helmet
- Screwdriver
- Safety glasses
- Goggles or face shield
- Work gloves
You may also need a few other items, such as a tape measure and a level, depending on the style of helmet you are assembling. Additionally, you may need to purchase some replacement parts, such as screws, bolts, or lenses, if the helmet you are assembling is missing any.
How Do I Attach the Headband and Suspension System?
Assembling a welding helmet is easy and requires few steps. Here’s how to do it:
1. Begin by attaching the headband to the helmet. Most helmets have two straps on the side, and the headband should fit the shape of the helmet. Line up the straps on the headband with the slots on the helmet, then slide the headband into place.
2. Next, attach the suspension system. This is the part that will keep the helmet securely on your head. The suspension system should have two straps with adjustable length. Attach them to the slots on the helmet, and adjust the straps to fit your head.
3. Finally, attach the lens. Depending on the type of helmet you have, this will either be a snap-in lens or a clip-on lens. If it’s a snap-in lens, make sure the tabs line up with the slots on the helmet before you snap it into place. If it’s a clip-on lens, line up the lens with the slots and press firmly until it clips in.
And that’s it! You now have a properly assembled welding helmet.
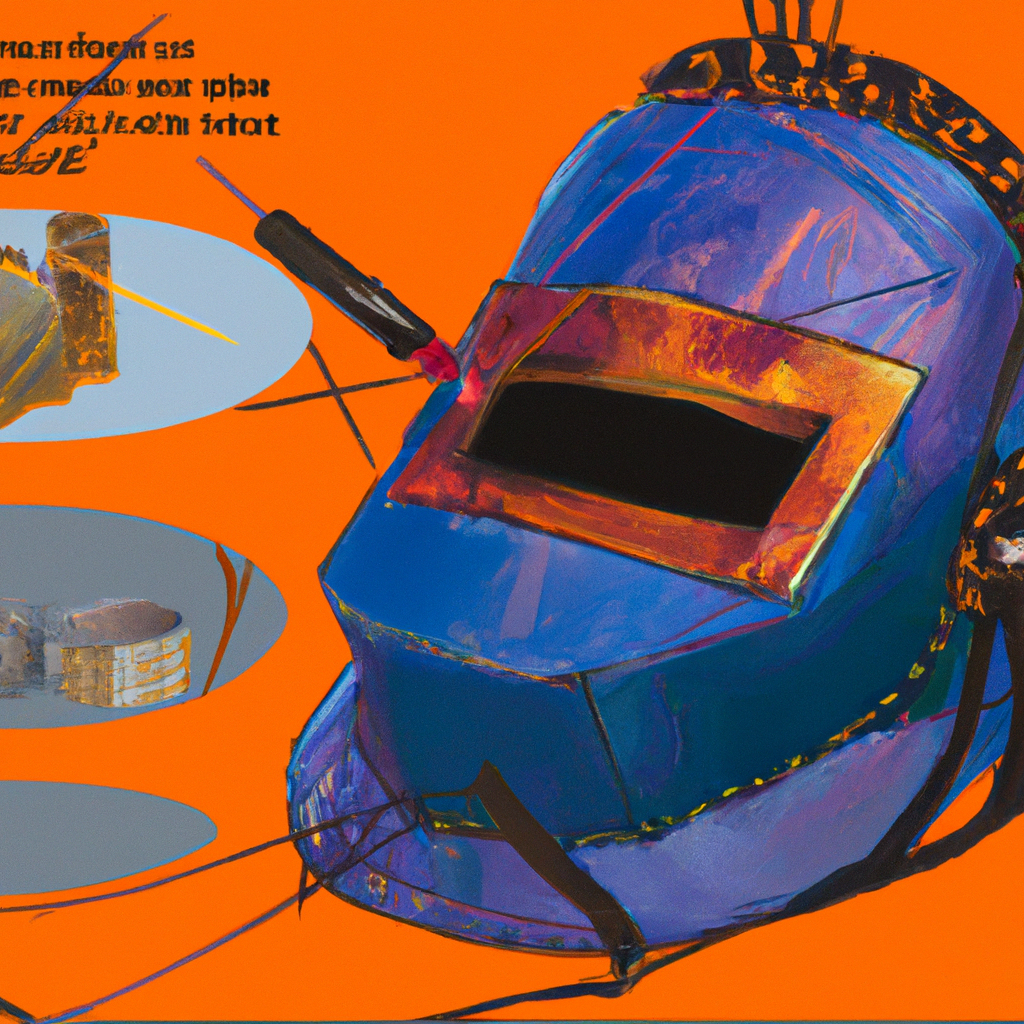
How Do I Attach the Lens and Visor?
To attach the lens and visor to a welding helmet, you will need the following tools:
- Screwdriver
- Lens holder
- Visor
To assemble the welding helmet, follow these steps:
- Place the lens holder on the welding helmet.
- Secure the lens holder with the screwdriver.
- Insert the lens into the holder.
- Gently press the lens so that it is firmly fixed into place.
- Place the visor on the welding helmet.
- Secure the visor with the screwdriver.
Your welding helmet should now be properly assembled and ready for use.
How Do I Attach the Filter Plate and Lens Holder?
To assemble a welding helmet, begin by attaching the filter plate and lens holder.
- Gently align the filter plate with the lens holder.
- Secure both pieces with four screws.
- Tighten the screws until the two pieces are firmly connected.
Once the filter plate and lens holder are firmly attached, the welding helmet is ready to be used.
How Do I Wire the Helmet for Power?
To wire a welding helmet for power, you will need the following supplies:
- Welding helmet
- Power supply
- Two wire nuts
- Electrical tape
Once you have all the necessary supplies, follow these steps to properly wire the welding helmet:
- Attach the power supply to the welding helmet. Make sure the power supply is firmly connected to the helmet.
- Connect the two wires coming from the power supply to the corresponding terminals on the helmet.
- Secure the connections with the wire nuts. Make sure the nuts are tight and the connections are secure.
- Wrap the connections with electrical tape to ensure they are completely sealed.
- Test the helmet power output with a voltage meter. The output should be around 80, with a maximum of 120.
Once you have finished, your welding helmet is ready to use. Be sure to regularly check the connections and make sure the power output is at the desired level.
How Do I Adjust the Helmet for Comfort and Fit?
A helmet should fit securely and comfortably to ensure optimal protection. Here are some tips on how to adjust a welding helmet for comfort and fit:
- Start by adjusting the helmet straps to ensure a snug fit.
- Check that the helmet is sitting level on your head.
- Ensure the helmet’s suspension system is adjusted correctly and is snug enough to keep the helmet from bouncing around.
- Adjust the helmet’s headband to fit your head size and shape.
- Make sure the helmet is tilted slightly forward to ensure proper coverage and protection.
Once you have adjusted the helmet for comfort and fit, check that all straps are securely fastened and that the helmet is properly positioned on your head. Adjustments may need to be made when switching between different welding positions.
How Do I Test the Helmet for Functionality?
Testing the functionality of a welding helmet is important to ensure it is properly functioning. Here is a step-by-step guide on how to test a welding helmet:
1. Place the welding helmet in the open position. Make sure that the headgear and lens are properly secured and that the auto-darkening filter is on.
2. Activate the welding arc. The helmet should darken almost immediately to protect your eyes. The auto-darkening filter should adjust to the welding arc strength.
3. Check that the helmet is working correctly. You should not be able to see any light while welding. If you can, the lens may need to be replaced or adjusted.
4. Test the response time of the helmet. Take note of how quickly the auto-darkening filter adjusts to changes in the welding arc strength. The response time should be around 1/25,000th of a second.
5. Check the shade of the lens. The lens should be dark enough to protect your eyes, but not so dark that you can’t see what you’re doing. The shade should be between #9 and #13.
6. Perform a fit test. Make sure that the helmet fits your head securely and that the headgear is comfortable. You should be able to move your head freely and the helmet should stay in place.
7. Test the headgear’s durability. Make sure that it holds up to regular use and that it won’t loosen over time.
By following these steps, you can ensure that your welding helmet is functioning correctly and will protect your eyes from the welding arc.
Are there any specific steps in painting a welding helmet that I should be aware of during assembly?
When it comes to assembly, are there specific paint a welding helmet steps to follow? It’s essential to be aware of the process to achieve a flawless finish. Remember to clean the surface thoroughly before applying the paint, use primer for better adhesion, and choose a paint suitable for metal surfaces.
How Do I Maintain and Care for My Welding Helmet?
Keeping your welding helmet in good condition is important to ensure the best safety and comfort when welding. Here are a few tips on how to maintain and care for your helmet:
- Store your welding helmet safely when not in use. This helps to avoid any wear and tear, and also prevents damage from accidental knocks and bumps.
- Clean your welding helmet regularly with warm soapy water and a soft cloth. This will keep it looking its best and also helps to avoid any build up of dirt and debris.
- Check your helmet regularly for any signs of damage or wear. If any damage is found, replace the helmet immediately to ensure your safety.
- Check the lens of the helmet for any scratches or distortion. If the lens is damaged, replace it as soon as possible.
- Check the headband for any signs of wear or damage. If the headband is worn or damaged, replace it as soon as possible.
- If the helmet is fitted with an auto darkening filter, make sure it is working correctly and that the sensitivity and delay settings are correct.
Following these steps will help you keep your welding helmet in good condition and ensure that it offers you the best protection and comfort when welding.