Auto darkening welding helmets are great safety assistant because you don’t have to take your helmet off to examine your work or adjust the lenses to accommodate the light in your environment. Unfortunately, many auto darkening welding helmets are battery powered. One of the only reasons why having a battery powered welding helmet is negative is that fact you will have to replace the batteries ever so often.
But, battery replacement doesn’t have to be awful! Here are a few painless steps you can take to replace the batteries in your auto darkening welding helmet.
#1 Make Sure Your Helmet Needs New Batteries
Let’s face it: replacing batteries can be a hassle or even expensive, so it’s important to make sure you actually have to replace your welding helmet’s batteries before you do so. That being said, here are a few ways you can make sure your helmet needs new batteries.
- Look for an Alert. If you’re lucky enough, you might have an auto darkening welding helmet that is equipped with a light signal or some sort of sensor that alerts you when the batteries or running low. This feature is common in modern auto darkening welding helmets. In order to figure out if your welding helmet has this feature, simply examine your helmet and check out your welding helmet’s manual.
- Weld with Different Intensities. Since auto darkening welding helmets automatically lighten or darkening depending on the amount of light in your environment, test the batteries by welding with different strengths in different environments. Start by sparking up a lot. If you see a lot of flash, then this most likely the auto darkening feature isn’t adequately responding because it needs more batteries.
- Look at the Sun. Although this is the most effective ways to determine whether or not you need to replace your welding helmet’s batteries, be cautious because this might strain your eyes a little bit. Simply put your welding helmet on like you normally would and head outside. Once you’re in a comfortable spot, glance up at the sun and wave your hands back and forth. Make sure your hands intercept your eyesight path, so the light changes.
If your welding helmet needs a change of batteries, the auto darkening feature won’t act as fast as it normally would. In fact, it might not even act at all. This is a definite sign you need to change the batteries.
#2 Gather the Necessary Materials
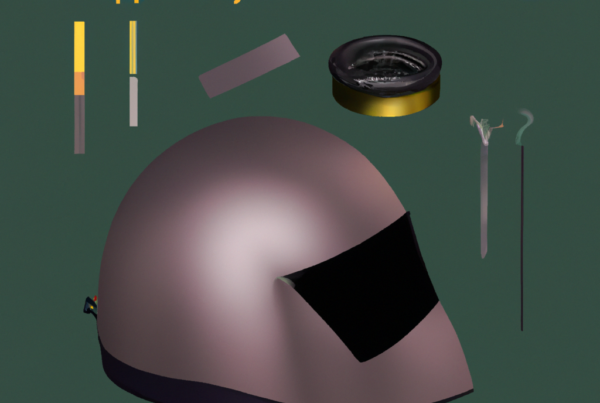
Before jumping into the materials you need to replace welding helmet batteries, let me preface this by saying this is a general guide that will work for most auto darkening welding helmets. For specifics, you should check out your welding helmet’s manual, or contact the manufacturer of your welding helmet. Now that we’ve gotten that out of the way, you will most likely need:
- An auto darkening welding helmet in need of a battery replacement
- Super strong glue, such as hot glue
- One diamond wheel Dremel tool
- One thin screwdriver
- Four batteries (typically AA or AAA work)
- One solder with a matching iron
- Cell holders to hold the mentioned batteries. Typically, 3VDC cell holders work fine
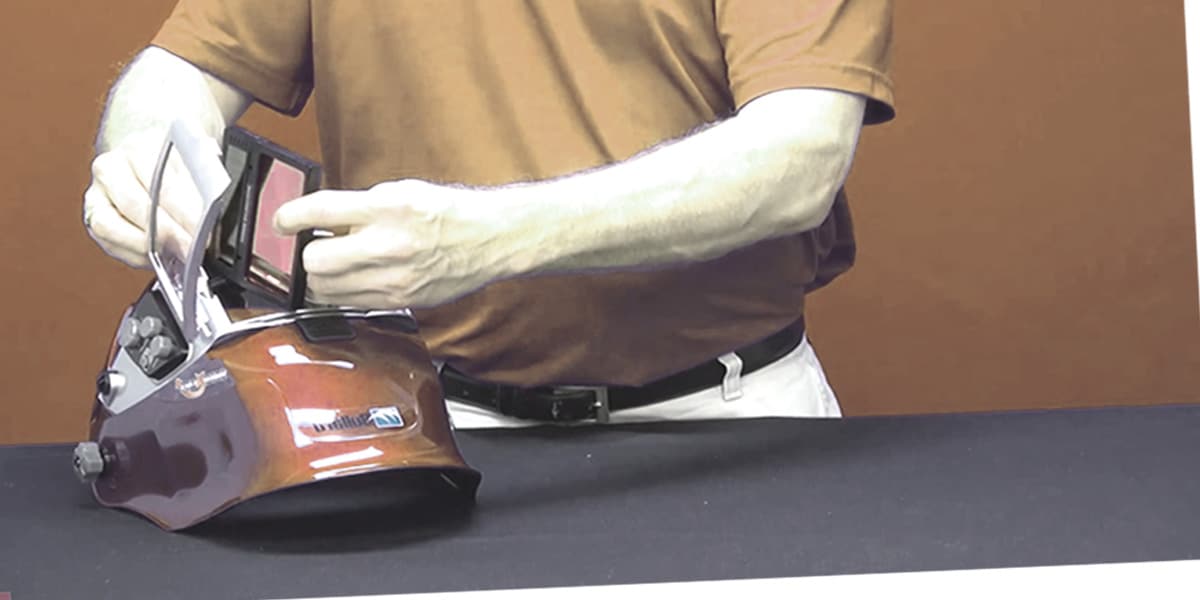
#3 Locate the Battery
Once you’ve gathered the necessary materials, examine your auto darkening welding helmet until you find the battery.
Usually, the batteries can be found through the front of the casing. If you examine the front casing section near the lens you should be able to find a solar cell. Once you locate this area, use your Dremel tool to dissect the battery. For reference, you should use the Riemann Sum grinding technique to dissect your batteries.
#4 Cut the Plastic
If you’re lucky enough, you will be able to locate the battery within seconds. In order to adequately remove it, simply begin cutting an area that’s roughly the size of a stamp. After cutting the area, you should be left with a piece of plastic. Do not throw this piece of plastic away. Instead, keep it in a safe spot because you are going to need to replace it.
By now, you should be able to see the battery. It’s important to make a note of some sorts where your battery is exactly located, as well as other aspects of it, such as its polarity.
#5 Remove the Battery
For this step, it’s extremely important that you’re as careful and delicate as possible.
In order to remove the battery, use your screwdriver to loosen the tabs that secure your battery. You should loosen the tabs enough that you can take out the battery. Do not loosen the tabs enough that they completely break.
It should be noted that you might need to use a lot of force to loosen the battery tabs. That’s why you should take your time and work slowly on this step. Once the tabs are loose enough, take the battery out.
#6 Install Battery
Once the original battery is out, take your solder to connect the battery holder together with the leads. The red lead should be connected to the positive side and the black lead should be connected to the negative sign. After connecting the leads, make a small incision for a slot. This allows the wires to externally run and connect to the rest of the welding helmet.
Place your batteries in the battery holder and start reconstructing the helmet. Simply place the battery holder in the same place the original battery used to sit, and seal everything with your glue or adhesive of choice. This includes the wires and the plastic cutout.
#7 Repeat the Process
That wasn’t so painful, right?
Good, because you’re going to have to repeat the process to replace the second battery. This battery is typically located on the contrasting side of the first battery. In other words, simply go to the other end of the case and start grinding. Then, follow steps three through six again.
#8 Test
Once you’ve adequately replaced both batteries, put your welding helmet to the test!
While there are many ways you could test the effectiveness of your battery replacement, one of the best ways to test if you adequately replaced your battery is by viewing the sun the same way that I discussed in step one. If your battery replacement was effective, the auto darkening feature will effectively respond in a quick and proper manner.