Welding helmets are essential for protecting the face and eyes from UV and IR radiation, sparks, and heat. Customizing a welding helmet is easy and can be done in just a few steps. With the right materials and a few creative ideas, you can create a stylish and unique welding helmet that is tailored to your needs. From adding custom artwork to changing the color of the helmet, you can create a look that is unique to you. With the right knowledge and the right materials, you can make it happen!
What Types of Welding Helmets are Available for Customization?
Welding helmets come in a variety of styles and shapes, and many of them can be customized to meet individual needs. There are full-face helmets, half-face helmets, and even auto-darkening welding helmets. The most popular type is the auto-darkening welding helmet, which offers the highest level of protection. It can be adjusted to filter out different levels of light to protect the eyes from sparks and other debris.
Full-face helmets are best for those who want to protect their entire face, while half-face helmets are ideal for those who don’t want to be hindered by the weight of a full-face helmet. Many helmets are available with different levels of tinting and can be adjusted to suit the user’s needs. Some helmets also allow the user to add graphics or logos to personalize it.
The welding helmet’s headgear is also an important factor to consider when looking to customize a helmet. Different types of headgear are available, including adjustable and one-size-fits-all. Adjustable headgear is more comfortable but may not be the best choice for those who need more protection.
The welding helmet’s lens is also important to consider when customizing. Different types of lenses are available, including polarized and non-polarized lenses. Polarized lenses offer the most protection, while non-polarized lenses are better for those who need maximum visibility.
Finally, some welding helmets come with add-ons, such as visors or shields. These can help protect the user from sparks and other debris, and can even be customized with graphics or logos.
By considering the type of helmet, headgear, lens, and other add-ons, it’s possible to create
What Materials Can be Used to Customize a Welding Helmet?
Customizing a welding helmet is a great way to make it unique and add personal style. There are many options to choose from when customizing a welding helmet, including paints, graphics, and other materials.
Painting the helmet is a great way to add color and personality to the helmet. Choose a high-quality spray paint designed for use on plastics and follow the manufacturer’s instructions. Make sure to cover the lens with tape or paper to protect it.
Graphics can also be added to the helmet to make it stand out. Choose a design that reflects your style and preferences. Vinyl decals are the easiest way to add graphics to a welding helmet. They are easy to apply and come in a variety of colors and designs.
Another material that can be used to customize a welding helmet is leather. Leather can be used to make a custom headliner or to add straps to the helmet. To make the leather waterproof, apply a sealer or water-resistant finish to the back of the leather before attaching it to the helmet.
Finally, you can add custom accessories to the welding helmet. These can include LED lights, air vents, and other items that can make the helmet more comfortable and functional. These accessories can also add a unique look to the helmet.
How to Prepare the Helmet for Customization?
To prepare your welding helmet for customization, you will need to begin by removing the lens cover. After removing the lens cover, use a clean cloth and a mild soap and water solution to clean the helmet, being sure to remove any debris or dirt. If there is paint or stickers on the helmet, use a solvent cleaner to remove them. Once the helmet is clean, use a heat gun or blow dryer to warm the helmet, making it easier to apply new paint or stickers. Once the helmet is heated, you can begin the customization process.
How to Design a Custom Welding Helmet?
Designing a custom welding helmet can be an exciting and creative process. Here are some steps to help you get started:
1. Select the desired style of your helmet. Consider if you want a traditional style, flip-up, or full face.
2. Choose a color that fits your personality. It’s important to select a color that is comfortable for the eyes, as well as one that reflects your style.
3. Consider adding custom graphics. You can choose from a variety of designs and graphics to make your helmet unique.
4. Think about the type of lens you want. You can opt for a standard lens or a more advanced one that has additional features such as anti-fog or light-filtering capabilities.
5. Finally, select any additional accessories. These can include battery packs, auto-darkening filters, and more.
By following these steps, you can create a customized welding helmet that is both stylish and functional.
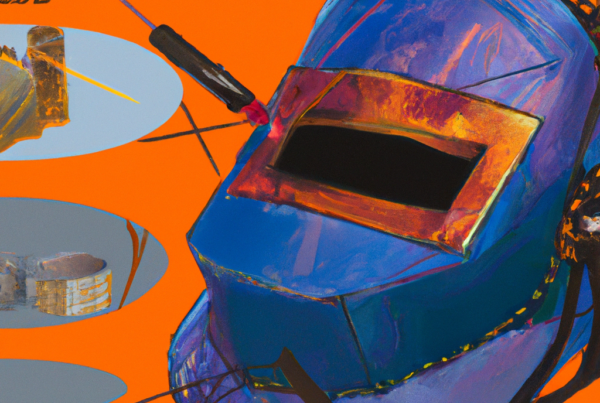
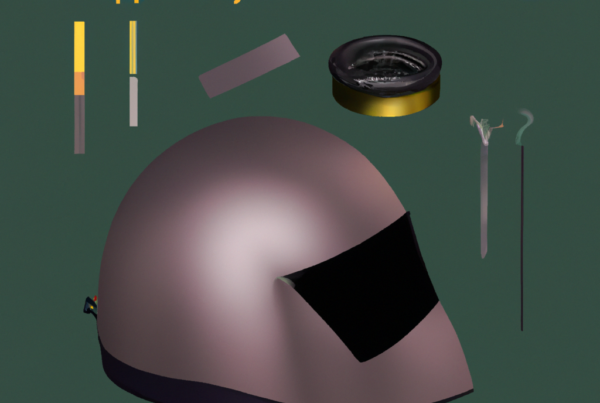
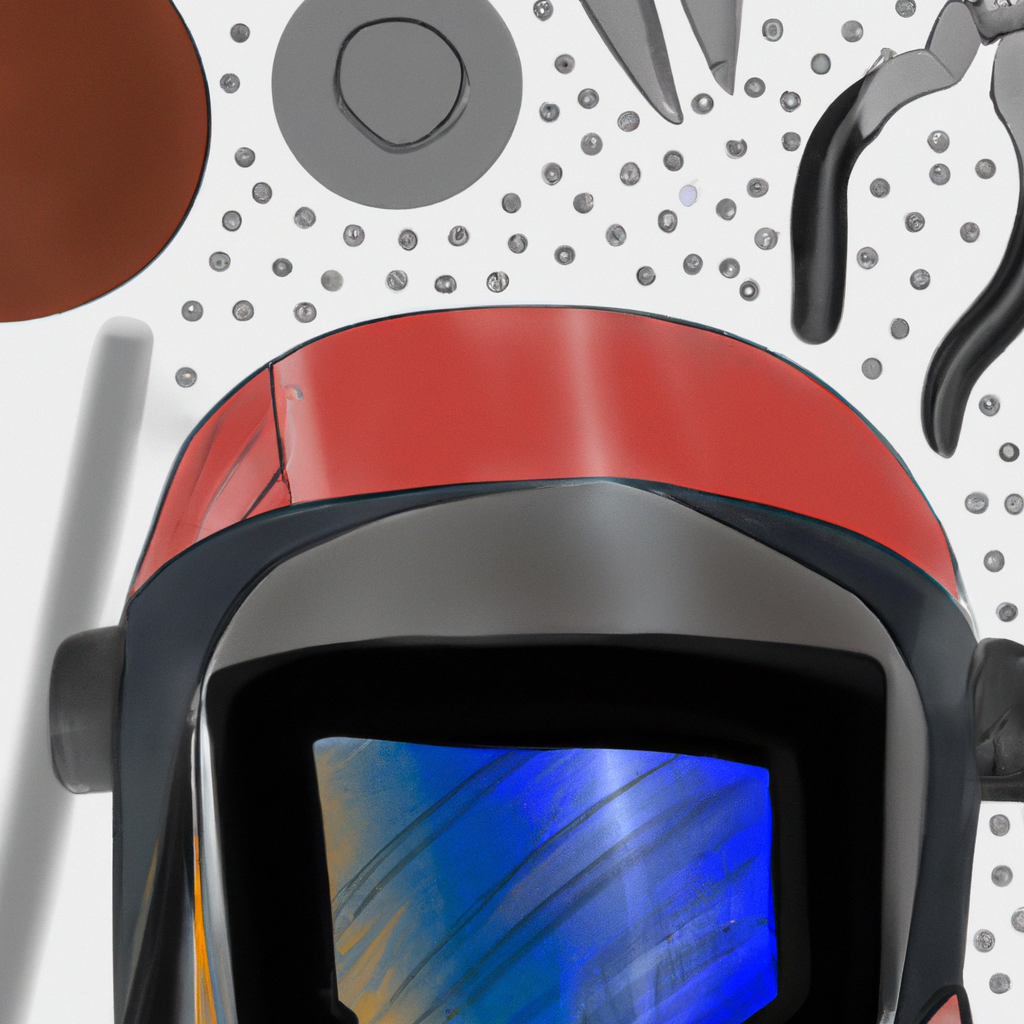
What Tools are Needed to Customize a Welding Helmet?
Customizing a welding helmet is a great way to make your work more comfortable and enjoyable. To ensure a successful customization, you’ll need a few tools and materials.
For starters, you’ll need a welding helmet. This should be rated for the type of welding you’ll be doing. You’ll also need a few basic tools, such as a Phillips screwdriver, needle-nose pliers, and a wrench. You’ll also need some sandpaper and paint, as well as a brush or roller for applying the paint.
You may also want to purchase some adhesive-backed vinyl or leather. This will allow you to customize the look of your helmet without the need for painting. You can also use this material to add padding to your helmet for added comfort.
If you’re looking to add some additional protection to your helmet, you can purchase safety shields or accessories. These should be rated for the type of welding you’ll be doing. You may also want to purchase a welding hood and face shield to provide additional protection.
Finally, you may want to purchase some welding goggles or glasses. These will help protect your eyes from the intense light and heat of the welding process.
With the right tools and materials, you can easily customize your welding helmet to make your work more comfortable and enjoyable. Be sure to purchase the right materials and tools for the type of welding you’ll be doing, and you’ll be ready to get started on your welding helmet customization project.
How to Paint a Welding Helmet?
Painting your welding helmet is a great way to customize it and make it look unique. Here are the steps to follow:
1. Start by cleaning the surface of the helmet with a cloth and some isopropyl alcohol. This will remove any dirt or oil that could prevent the paint from adhering properly.
2. Prepare the surface for painting by sanding it with a fine grit sandpaper. This will help the paint to adhere better.
3. Cover the surrounding area with a drop cloth or newspaper to protect it from overspray.
4. Using a paintbrush, apply a coat of primer to the helmet. This will help the paint to stick better and will also provide a base layer for the paint.
5. Once the primer is dry, apply a coat of the desired paint color. Allow the paint to dry completely before adding additional coats.
6. Once the paint is dry, apply a clear coat to protect it and give it a glossy finish.
7. Allow the paint to dry completely before wearing the helmet.
Painting your welding helmet is a great way to customize it and make it look unique. Remember to take your time and follow the steps carefully to get the best results.
How to Apply a Decal to a Welding Helmet?
To customize your welding helmet, you will need to apply a decal. Here’s how to do it:
1. Clean the surface of the welding helmet with soap and water. Dry with a soft cloth.
2. Peel the backing off of the decal and carefully align it on the welding helmet where you want it to be placed.
3. Secure the decal in place using masking tape or a similar adhesive.
4. Smooth out any air bubbles or wrinkles with a soft cloth or your fingers.
5. Allow the decal to dry and adhere to the welding helmet for at least 24 hours.
6. Once dried, carefully remove the masking tape or adhesive, and you’re done! Your welding helmet is now customized with your unique decal.
How to Choose Protective Lenses for a Custom Welding Helmet?
When it comes to choosing protective lenses for a custom welding helmet, there are several factors to consider. First, you should determine the level of protection you need. The higher the protection level, the darker the lens and the more expensive the lens. Second, you should consider the type of welding you will be doing. Different types of welding require different types of lenses. Third, you should look for lenses that are scratch-resistant, anti-fog, and anti-reflection. Finally, you should look for lenses that fit your helmet properly and are comfortable to wear.
Once you have considered these factors, you can begin to look for the specific protective lens that fits your needs. You can purchase lenses in a variety of colors, shapes, and sizes. Additionally, you can look for lenses with special features such as anti-UV coating, adjustable shading, and more. When selecting a lens, make sure to check the manufacturer’s instructions to ensure you are getting the right lens for your welding helmet.
How to Fit a Welding Helmet Properly?
Welding helmets are essential pieces of safety equipment for welders. To ensure you’re properly protected, it’s important to make sure your welding helmet fits correctly. Here’s how to do it:
1. Put your welding helmet on your head and adjust the headgear so it fits comfortably. The headgear should be snug, but not so tight that it’s uncomfortable.
2. Adjust the helmet’s side straps to ensure it sits firmly on your head. It should be tight enough to stay in place, but not so tight that it causes discomfort.
3. Make sure your helmet is sitting squarely on your head, with the front edge of the helmet resting just above your eyebrows.
4. Adjust the angle of the helmet so that the viewing lens is parallel to your eyes. You should be able to see clearly through the lens without having to tilt your head.
5. Check that the headgear is free of any obstructions, such as long hair or loose clothing, that could limit your vision or block the lens.
By following these steps, you can ensure your welding helmet fits correctly and you are protected from any potential hazards.
What Are the Factors Considered in Rating Welding Helmets?
When it comes to rating welding helmets, several factors are taken into consideration. The lens shade, optical clarity, reaction time, and the helmet’s overall comfort and durability play crucial roles in determining how welding helmets are rated. These factors ensure that welders have the right protection and functionality for their specific welding needs.
What Safety Measures Should be Taken When Customizing a Welding Helmet?
When customizing a welding helmet, it is important to take safety precautions to protect yourself. Here are some tips to ensure your safety:
1. Wear protective eye gear and clothing when welding. This includes a welding helmet, gloves, and a face shield to protect your eyes and face from sparks and radiation.
2. Make sure the helmet is designed for the welding process you are using. Different techniques require different helmets.
3. Check your helmet before each use. Inspect for any damage or wear and tear, and replace if necessary.
4. Ensure your helmet fits properly and is secured to your head. Loose helmets can be dangerous and may not provide proper protection.
5. Clean the helmet after each use to remove any debris or residue. This will help keep it in good condition.
6. Follow the manufacturer’s instructions when customizing your helmet. This will ensure it is safe and effective.
7. Never change the lens shade or type of lens without consulting a professional. Different shades and lenses are designed for different welding techniques and may not be suitable for your welding method.
By following these safety measures, you can customize your welding helmet safely and effectively.